

How to Grow Bushy Basil to Harvest All Summer Long
Basil is an easy-to-grow, versatile, delicious, warm-weather annual herb that should be included in every summer garden! Read along to learn how to grow basil, including tips for harvesting that will create full, prolific basil plants to enjoy all season long.
Just a couple basil plants will provide plenty of fresh leaves to enjoy with your summer salads and sauces. However, if you’re intending to stock the freezer with homegrown pesto or dry your own basil seasoning like we do, it’s best to have a handful of plants, or more!
Make sure to check out the videos within this post! One quickly shows you how to prune small basil seedlings to set them up for success. The other shows a demonstration of harvesting from a large bushy basil plant in the middle of summer.

HOW TO GROW BASIL
Starting Basil
Basil is easy to grow from seed, or you can pick up started seedlings at your local garden center. Pick up a few different varieties! Some of our favorites are a classic Italian or Genovese Basil (like Prospera Italian Large Leaf and Rutgers Devotion), Opal (purple) basil, Lemon basil, Sweet Thai basil, and even Cinnamon! Here is an awesome mixed-variety pack of certified organic basil seeds, or check out these 12 places to buy quality organic, heirloom, or non-GMO seeds from.
When starting from seed, basil likes the same treatment that most garden veggie seeds do. That includes using a light fluffy seedling start mix, maintaining evenly damp soil (especially before sprouting), providing heat to aid in germination, and providing ample light as soon as the sprouts appear. Follow the instructions on your seed pack in regards to seed sowing depth.
We almost always start our basil from seed indoors. To read more details about indoor seed-starting best practices, see this post. Before transplanting indoor starts outside, make sure to properly harden them off!
On the other hand, the fast and easy way to grow basil is from nursery seedlings – or even grocery store plants. They often come overcrowded, so you can gently tease the seedlings and roots apart to get even more plants. It’s also incredibly easy to create more free basil plants by rooting cuttings in water!
Planting Basil & Ongoing Care
After any danger of frost has passed, plant basil in rich, well-draining soil that has been amended with compost. The recommended spacing is about 8 to 12 inches between plants. We like to plant our basil in clusters of three, in a triangle and each about 6 to 8 inches apart. They’ll grow together into one large bush, which I find attractive-looking and also enables the plants to provide support and shade for one another.
Basil needs at least 6 to 8 hours of sunlight. In climates with hot summers, they do benefit from some afternoon shade. One way to accomplish this is by planting basil as a companion between other taller plants that will give them some protection and shade as they grow, such as peppers or tomatoes. Don’t overcrowd them so they get too little sun though! Basil also grows well in containers, so you could simply plant them in a pot in a partially shaded location.

Water basil when the soil starts to dry out. They don’t need to be soggy, but do prefer even consistent dampness. Basil will wilt a little when it’s dry, which is a great signal that it is past time to water! Don’t worry – they bounce back easily. Keep in mind that potted plants generally dry out faster and therefore need more frequent water than those in raised garden beds or in-ground.
Mulch around your basil to aid in moisture retention. We use compost for mulch. Throughout the season, feed basil plants every couple of months with dilute seaweed extract or compost tea.
Pruning Basil Seedlings to Encourage Branching
Once the basil seedlings are at least 4 to 6 inches tall and have several sets of leaves, give them their first haircut. Using fine trimming snips (or a careful pinch with your finger tips), snip off the top portion of the stem and couple top leaves. Do this just above a “node” – the place where two larger leaves are growing out of the stem. In the crook between the leaves and the stem, you should see tiny little leaves growing. Trim right above those. Afterwards, those little leaves will grow into two new large branches of their own!
Now you can either eat the trimmed tops, or root the longest stems in water to grow even more basil plants – fast and free! Learn how here.


Watch the video below for a quick demonstration of how we prune young basil seedlings, leading to branching and bushy growth!
Harvesting Basil
The secret for big bushy basil is using it! By regularly trimming off bits to use and enjoy, you’re encouraging more and more new growth. Basil is not intended to be grown to a full size and then harvested in its entirety. Plucking off individual leaves is also not ideal. It’s tedious, and doesn’t give the same benefit of promoting new growth.
As the plants grow throughout the season, continue the same pruning practices as described previously for seedlings – but on a larger scale! The cuts can be made along a center stem, or off of a new side shoot, as long as you’re cutting just above a node that promises new growth each time. Avoid chopping off the main woody stalk from an established basil plant, as that part may not bounce back.
If your plant is really tall, you can cut down a little deeper into it, removing several sets of nodes and upper branches. I don’t suggest trimming the very tips only all the time. You want to encourage branching in the lower and middle sections of the plant – making it bush out, instead of getting tall and lanky. When I am harvesting basil, I usually take a little off from various areas at different heights.
It is suggested to pinch off flowers to encourage more leaves to grow. We pinch basil flowers in the early summer. Yet as the season goes on, we let our basil flower for the bees. If you let those flowers continue to bloom and then dry out, you can seed-save: harvest the seed from within to grow future basil plants!
Storing Basil
If you harvest basil and are not going to use it immediately, we have found the best way to store it is by placing it in a bowl or jar with some water, just like flowers in a vase. Put the cut stems down in a little water and let the leaves sit above it. Then, simply keep it out on the counter. We have had basil stay fresh and perky this way for over a week!
For larger harvests, basil can be turned in delicious pesto and stored in the freezer for up to a year. Check out this recipe for our go-to lemon walnut “Besto Pesto”. Another long-term storage option is thoroughly dehydrating the leaves and crushing them into a dried basil seasoning. Check out our tutorial on how to dehydrate and store dried basil here.
Now that you’re armed with tips, get out there and grow some bushy basil of your own!
I hope you enjoyed this post and learned something new. Please feel free to ask questions, and spread the love by passing it on!


23 Comments
Bill Bache
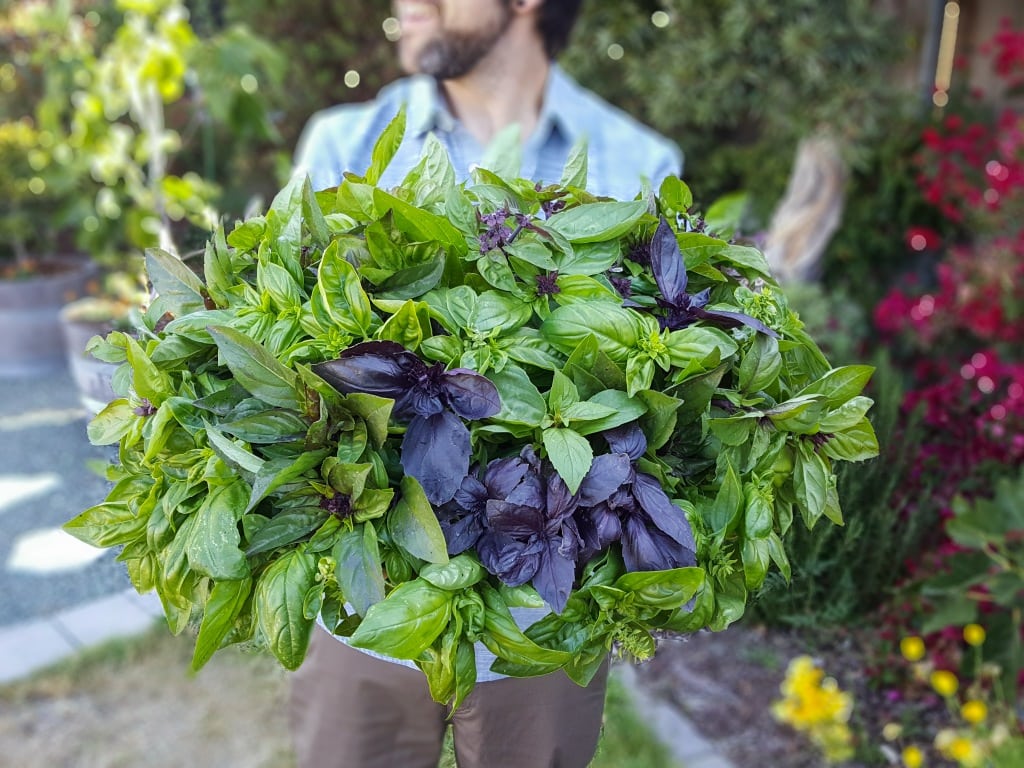
What are the purple leaves in the basil photo on the home page of “How to Grow Bushy Basil to Harvest All Summer Long”?
Aaron (Mr. DeannaCat)
Hi Bill, those purple leaves are from the Opal basil variety which is a purple basil, a very pretty plant with tasty leaves!
Emma
My basil is all wrinkly and dry? I live in an area where 100-degree days are consistent but I put the basil in the shade and it’s still not normal, what do I do? I also have another basil plant I was gifted but it wasn’t pruned at first so it’s two long stems full of leaves how should I prune it without destroying half the plant or does it matter?
Aaron (Mr. DeannaCat)
Hi Emma, is your basil plant getting enough water as that may be a reason for it to be wrinkly and dry, be sure that your soil has a decent amount of mulch on the top which will help it retain moisture. Also, does the plant receive afternoon shade, morning shade, or mostly all shade? As far as your new basil is concerned, you can still prune it somewhat and use the parts of the plant that you pulled off to eat. It will just help the new plant grow bushier if you top it now. Hope that helps and good luck!
Pat
I really learned a lot from this article. Thank you! We bought a little raised planter, and I would like to try growing basil, cilantro, parsley, tomatoes, radishes, and peppers. I realize some bugs are beneficial, but others aren’t. Trying to figure all of that out too. The information you shared gives me hope that I can be successful! The fact that you shared that tomatoes and basil are companion plants makes me happy. I think I will start with those two and see how it goes. Thanks again!
Aaron (Mr. DeannaCat)
Hi Pat, we always plant our basil and tomatoes together in the same raised beds and I think that is a great start for you in your new planter. Have fun growing!
Becky
I’m growing only 2 basil plants in containers. My problem seems to be grasshoppers eating the leaves. What should I do?
Aaron (Mr. DeannaCat)
Hi Becky, grasshoppers can be quite the pest as they like to munch on plants, it can be even more of a problem if you only have a few plants to work with. I would try and cover them using row covers as that will keep them off your plants entirely. Check out our article on using hoops and row covers if you would like to look into it further. Hope that helps and good luck!