


Preserving Onions: Oven-Roasted Onions for the Freezer
Do you have excess onions that you’d like to preserve? Then this is the recipe for you! In addition to making sweet, delicious homemade onion powder, freezing roasted onions is one of our favorite ways to preserve them! When done right, it is super easy to pull out just a few roasted onions rings from the freezer as you need them for future meals. Plus, now they’re infused with that scrumptious roasted, caramelized onion flavor. Even in their frozen state, the aroma totally reminds me of fried onion rings! Yum!
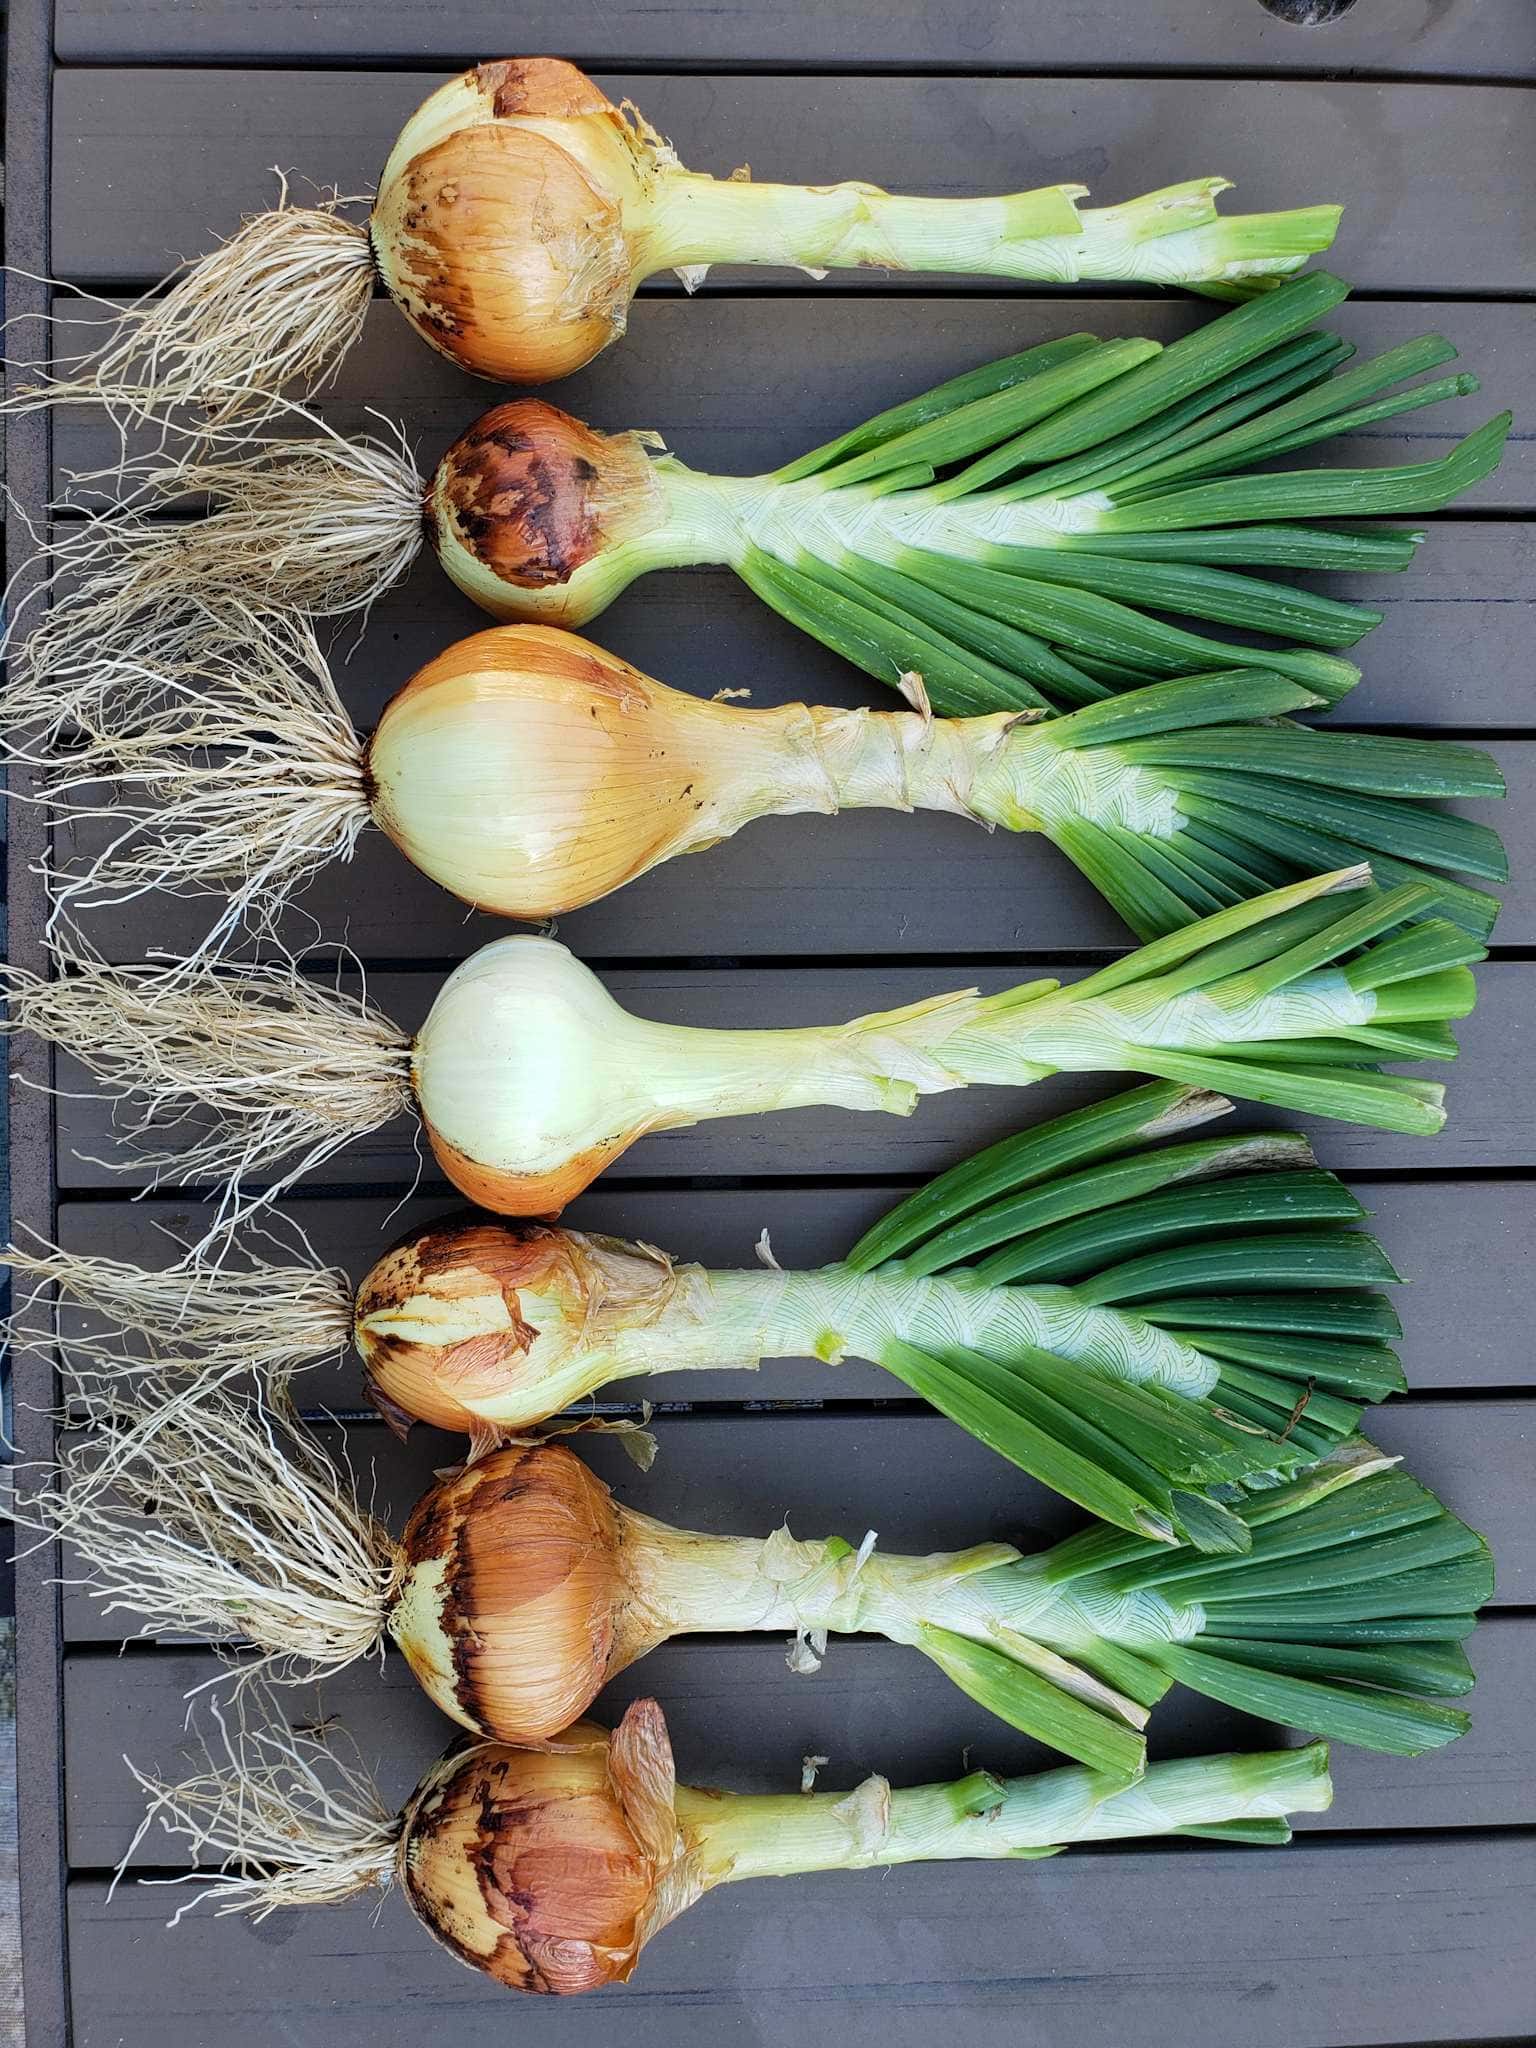
In this example, we are using sweet homegrown Walla Walla onions from the garden. However, you can use any type of onion for this process! It is most ideal for processing and storage if the onions are of decent size, able to give you nice thick rings.
SUPPLIES NEEDED
- Onions
- Extra virgin olive oil
- Sea salt & black pepper
- Baking sheets
- Parchment paper
INSTRUCTIONS
Step 1: Prepare the Onions
While you are preparing the onions, preheat your oven to 400°F.
As needed, wash your onions, cut away any roots and tough bottoms, and peel away the outer papery layer. Next, cut the onions into approximately 1/4 to 1/2-inch thick rounds. We like to do this across their equator, which helps them stay intact as slices of rings. Sorry, eyeballs!

Spread the onion rings out in a single layer on a baking pan lined with parchment paper. Yes, you really will appreciate the use of parchment paper here! I promise. You’ll see why in Step 3 and 4.
Next, drizzle a modest amount of olive oil over the onions, and sprinkle on salt and pepper to your liking.
As you can see, we made a double-batch!

Step 2: Roast the Onions
Roast the onions in the oven on 400°F for approximately 30 minutes, until they begin to soften and turn brown on the edges or top. If you are roasting multiple pans of onions, rotate the pans halfway through. Now sit back and enjoy that delicious aroma – as it transforms from raw, pungent onion to sweet roasted onion goodness!
Step 3: Freeze Before Packaging
Here is the key trick for this whole process – and maybe something new for you! Instead of throwing all the roasted onion slices into a package together now, we want to freeze them on their own first! When soft, warm foods are lumped together and frozen, they will do just that – lump together and freeze.
The secret to prevent frozen foods from sticking together is to freeze them individually first. This trick applies to any kind of food you are attempting to freeze, not just onions! Using this method, it is easy to take only a small portion out of the freezer to use later.
After removing them from the baking sheets from the oven, allow them to cool down at room temperature. Then, place the entire baking sheet(s) into the freezer – with the roasted onion slices still separated and not touching. Allow the onions to freeze for at least a few hours this way. We generally leave them to freeze overnight, and then package them the next day.

Step 4: Package Roasted Onions to Freeze
Now that the chunks of roasted onions have frozen on their own, you can combine them into their long-term packaging to freeze. And without sticking together! Do not allow them to defrost during the packaging process, so get all of your supplies ready before pulling the onions out the freezer.
Peel them up, and get them packed! Here is where that parchment paper really helps. Without it, the frozen onions stick to the pan like crazy, and make this transition much more messy and difficult to do quickly. We learned that the hard way!
For the best results, pack the roasted onions into an air-tight container to freeze. We like to use these BPA-free, made-in-USA reusable plastic freezer containers. They come in a variety of sizes, which we use for everything from roasted onions to soups and lentils. You could also choose to vacuum seal them. As a plastic-free alternative, you could stack the roasted onions rings in wide mouth pint or quart-size mason jars (which are freezer safe) – if your rings will fit, that is! Most of ours were too large.

Step 5: Enjoy!
Now, whenever you are out of fresh onions, pull out a couple preserved chunks from the freezer! When stored properly, roasted onions will maintain their quality in the freezer for 8 to 10 months – though they will be technically “safe” far longer! We love to chop these up to add to sautéed veggies, soups, curry lentils, or even added to the dough of homemade sourdough bread. Any recipe or meal that you’d want onions with!
Be sure to also check out our easy instructions to preserve onions by making your own onion powder. I don’t mean to make the roasted onion rings feel bad… but that stuff can’t be beat!
I hope you enjoyed this article. Please feel free to ask questions, leave feedback, and spread the love by sharing this article. Pin it below!

Oven Roasted Onions Recipe (Freezer-Friendly)
Equipment
- Oven
- Roasting pan or baking sheets
- Parchment Paper
Ingredients
- Onions
- Extra Virgin Olive Oil
- Salt and Pepper
Instructions
- Preheat oven to 400 degrees Fahrenheit.
- Wash and prepare the onions by removing the outer papery layer and slicing them widthwise to create ⅛ to ¼ inch rounds.
- Place the onion rounds single layer on a baking sheet and drizzle with olive oil and a sprinkle of salt and pepper.
- Roast the onions on 400 degrees F for 30 minutes or until lightly browned.
- Once done, allow the onions and pan to cool. If you intend to freeze the onions for later use, place the cool pan of onion rounds in freezer (with the onions spread and not touching) for at least a couple hours or overnight.
- Once frozen, stack the onion rounds into an airtight container and store in the freezer until use.


11 Comments
Scott L Carlson
Great idea. I grow way too many onions, 1000+ total. They always find homes. One problem is that they are not fully mature before I want to plant my summer vegies. It makes garden space an issue. Harvesting early and processing like you shared, solves the overlap issue and we can have them from the freezer all year. Thanks, Scott
Heidi
Hi! Do you have any how to or tips on growing onions in 9b zone? Thanks!
Aaron (Mr. DeannaCat)
Hello Heidi, a “How to Grow Onions” post is somewhere on the horizon but we don’t have one as of yet. Onions are fairly easy to grow, however there are “long day” onions and “short day” onions. Long day onions require more sunlight to form bulbs (plant in spring) and short day onions require less sunlight to form bulbs (plant in fall). Be on the lookout for a post coming later, thanks for stopping by and good luck!
jwoolman
Just made these in a little convection/toaster oven. Didn’t use any oil or seasoning but still taste wonderful.
I use a shortcut in freezing these onions and also pieces of fruit like sliced strawberries or sliced bananas or pieces of melon or grapes or blueberries— rather than freezing them first on a tray and then bagging to avoid the icy fusion, I just freeze them flat in one layer in a plastic bag. I do small quantities (like half a banana) so usually a zip sandwich bag works well. The bags can be washed and reused if you don’t damage them. I’ve done the tray approach before, but this is easier than finding enough room for a tray in my stuffed freezer.
I also freeze mashed avocado the same way. Just mash with some lemon juice (not tomatoes, add those later if you like, gets too wet) and fill a plastic bag with as much as you might use at once and then thaw in the fridge before using.
I don’t even need to thaw in the fridge since I only want half a Haas avocado at once, which fits very well in a zip sandwich or snack bag in a relatively thin layer and thaws fast at room temperature while I am preparing a meal. I often don’t even bother waiting for it to thaw, just break off pieces to eat or put on a cracker… . I push to the edge to try to avoid air bubbles. But they last many months for me with very little or no oxidation. Once frozen, they can be stacked horizontally or vertically, whatever fits best in your freezer.
Jas
This is genius. Cooking for one, I am used to being creative with surplus produce to keep from wasting it and frequently caramelize an entire 5 lb bag of onions to freeze in small batches or chop 3 onions at a time and freeze raw so I don’t have to start every meal by chopping half an onion. This let’s me go a step further by getting the browning started too. Chopping pre browned onions into smaller pieces will be much easier on the eyes than dicing fresh onions as well I’m sure.
Juliemom
I just brought in my onion crop and I love this idea, so I thought I would share another step that I thought of. Chop some and put in ice cube trays and freeze into cubes, then pull out one cube to add to any recipe that begins with sautéed onions. The cubes can be stored the same way. I also grate fresh ginger into teaspoons and freeze on a sheet pan then put into containers.
Nicole Novak
I’ve always chopped fresh onions, vacuum packed them in one or two cup portions but WOW, this technique is just magical. I grow Walla Wallas for my major onion crop and they can get HUGE, which makes them somewhat impractical to “root cellar” because one onion can be way too much for one recipe of whatever. This way I can vacuum pack just the right amount of roasted onions and not have to go through the extra step of sauteeing them which will save tons of time. LOVE THIS!!!!!!!
Sarah
Thank you for this! I’m roasting tomatoes today and freezing to preserve them and your tips are going to be really helpful!
DeannaCat
Yes! We follow a really similar process for roasting and freezing tomatoes too! Another option is to roast the toms, then blend them into a “sauce” and freeze them in jars! That simple tutorial is coming later this week 🙂 Thanks for stopping by!
Elizabeth
So creative. I’ve frozen chopped onions before, but I’d never thought to roast them ahead of time. I think I’ll do this with some farmers market onions this fall!
DeannaCat
It makes such a tasty difference! I hope you enjoy them, and thanks for supporting your local farmers!