

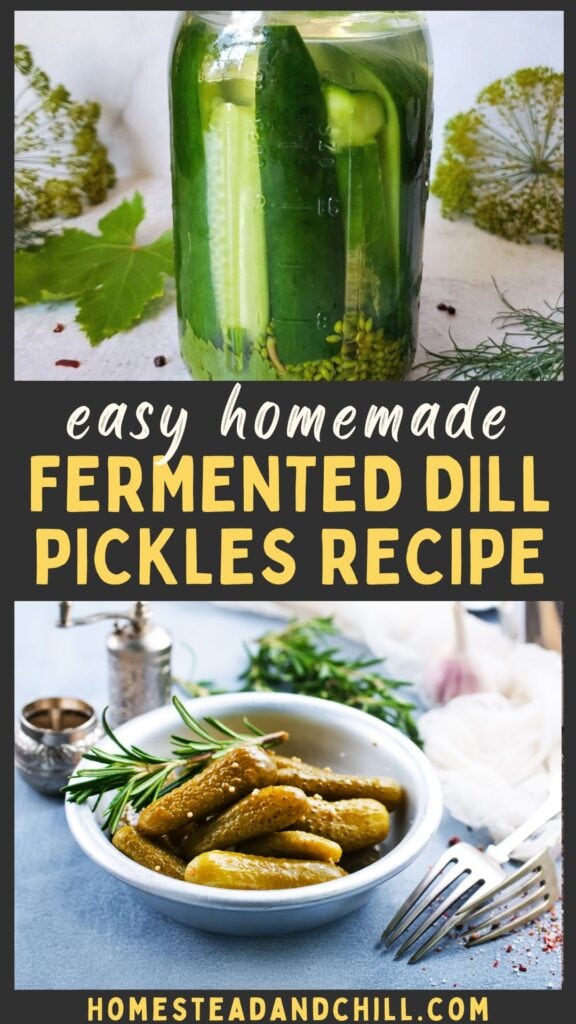
Fermented Pickles Recipe: How to Make Crunchy Brined Cucumber Pickles
Let’s make a delicious gut-healthy snack with this easy fermented pickles recipe! Making lacto-fermented pickles is a great way to preserve cucumbers from the summer garden (or farmer’s market) to enjoy all year long. If you’ve never fermented anything before, don’t be intimidated. I’ll show you exactly how to make crunchy naturally fermented dill cucumber pickles with this easy step-by-step tutorial – with no heat, no vinegar, no canning… just a simple salt water brine.
I love eating fermented pickles with sandwiches, veggie burgers, a cheese board, or just as a tasty snack. If you’re looking for more ways to use or preserve fresh cucumbers, check out our classic vinegar refrigerator pickles recipe or our easy garden tzatziki sauce recipe. Learn how to grow and trellis cucumbers here.
What are fermented pickles?
You may be wondering: what’s the difference between fermented pickles and regular pickles? Well, fermented pickles are quite similar to classic pickles: they’re tangy, crunchy, preserved cucumbers with dill, garlic, and other pickling spices. You can also make fermented pickles from a wide variety of vegetables, and make them spicy if you wish! On the other hand, naturally fermented pickles are quite different than classic pickles in many ways.
First, fermented pickles are made through a lacto-fermentation process using a salt water brine rather than vinegar. Instead of relying on acidic vinegar to preserve the cucumbers, the salt water encourages the growth of beneficial bacteria naturally present on the cucumbers (lactobacillus) to create lactic acid and lower the pH and safely preserve the pickles instead.
The flavor of fermented pickles is also distinct – they’re more mellow, spunky, and less sharp than vinegar pickles, but still full of good tang, garlic, and dill flavors. Finally, it’s best to store fermented pickles in the refrigerator rather than canning them.
Are fermented pickles good for you?
Heck yes! There are a number of health benefits from eating fermented pickles. First and foremost: the probiotics. Because this fermented pickles recipe uses a natural fermentation process and salt water brine, it is FULL of gut-healthy probiotics. In contrast, classic pickles made with vinegar stops all bacterial growth – including the good guys. A steady intake of probiotics improves gut health and digestion, and our gut microbiome is directly tied to health outcomes in every single organ and system in our body! It’s true.
Thanks to the cucumbers and herbs, this fermented pickles recipe is also naturally low-carb, low-calorie, vegan, high in fiber, and offers a healthy dose of vitamin C, K, potassium, manganese, and magnesium. As a type 1 diabetic, pickles and cheese is one of my favorite low carb snacks.
Learn more about the health benefits of lacto-fermented foods here.

How to make fermented pickles stay crunchy and crisp?
In general, fermented pickle recipes should stay more crunchy than their canned counterparts – since they’re not heated or cooked! But here are a number of tips and way to keep fermented cucumbers extra crisp:
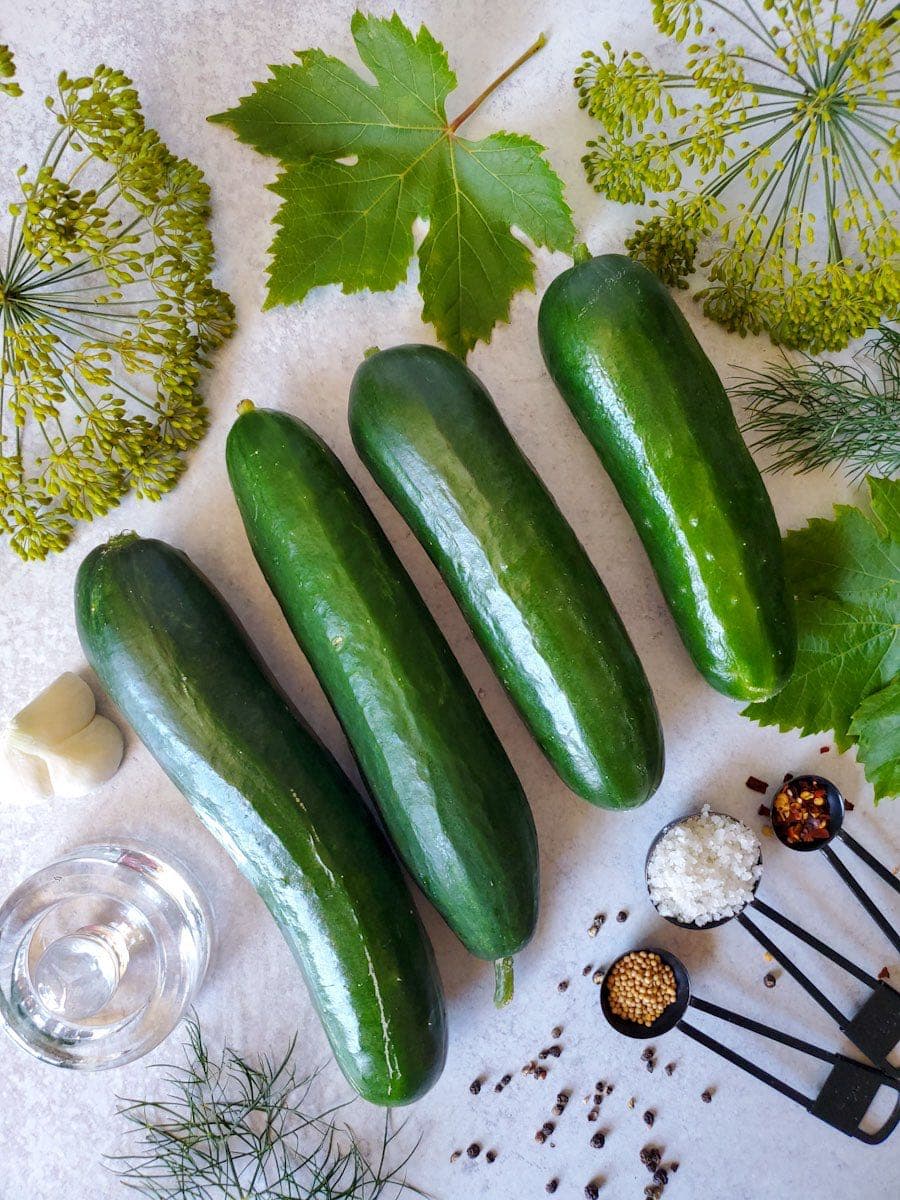
- Use the freshest cucumbers possible. If using homegrown cucumbers, refrigerate the cukes immediately after harvest.
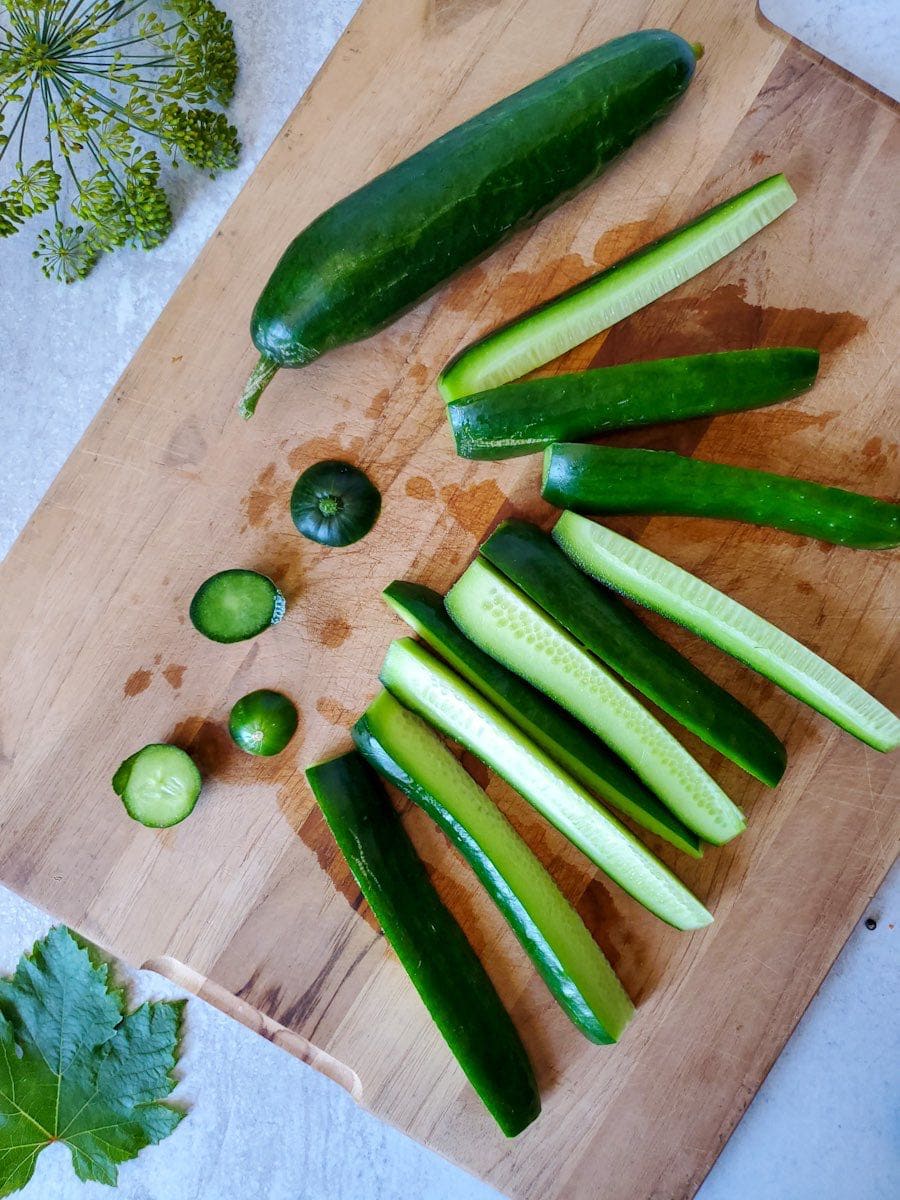
- Choose small cucumbers that have more skin and flesh, but less seeds inside. The seedy parts are the most prone to getting soft. Small blunt pickling cucumbers or Persian varieties will stay especially crisp, though you can successfully make crunchy fermented pickles with classic slicers or English cucumbers too.
- Always trim off the ends of the cucumber before fermenting. If left on, the blossom end especially will make the cucumbers degrade and get soft faster.
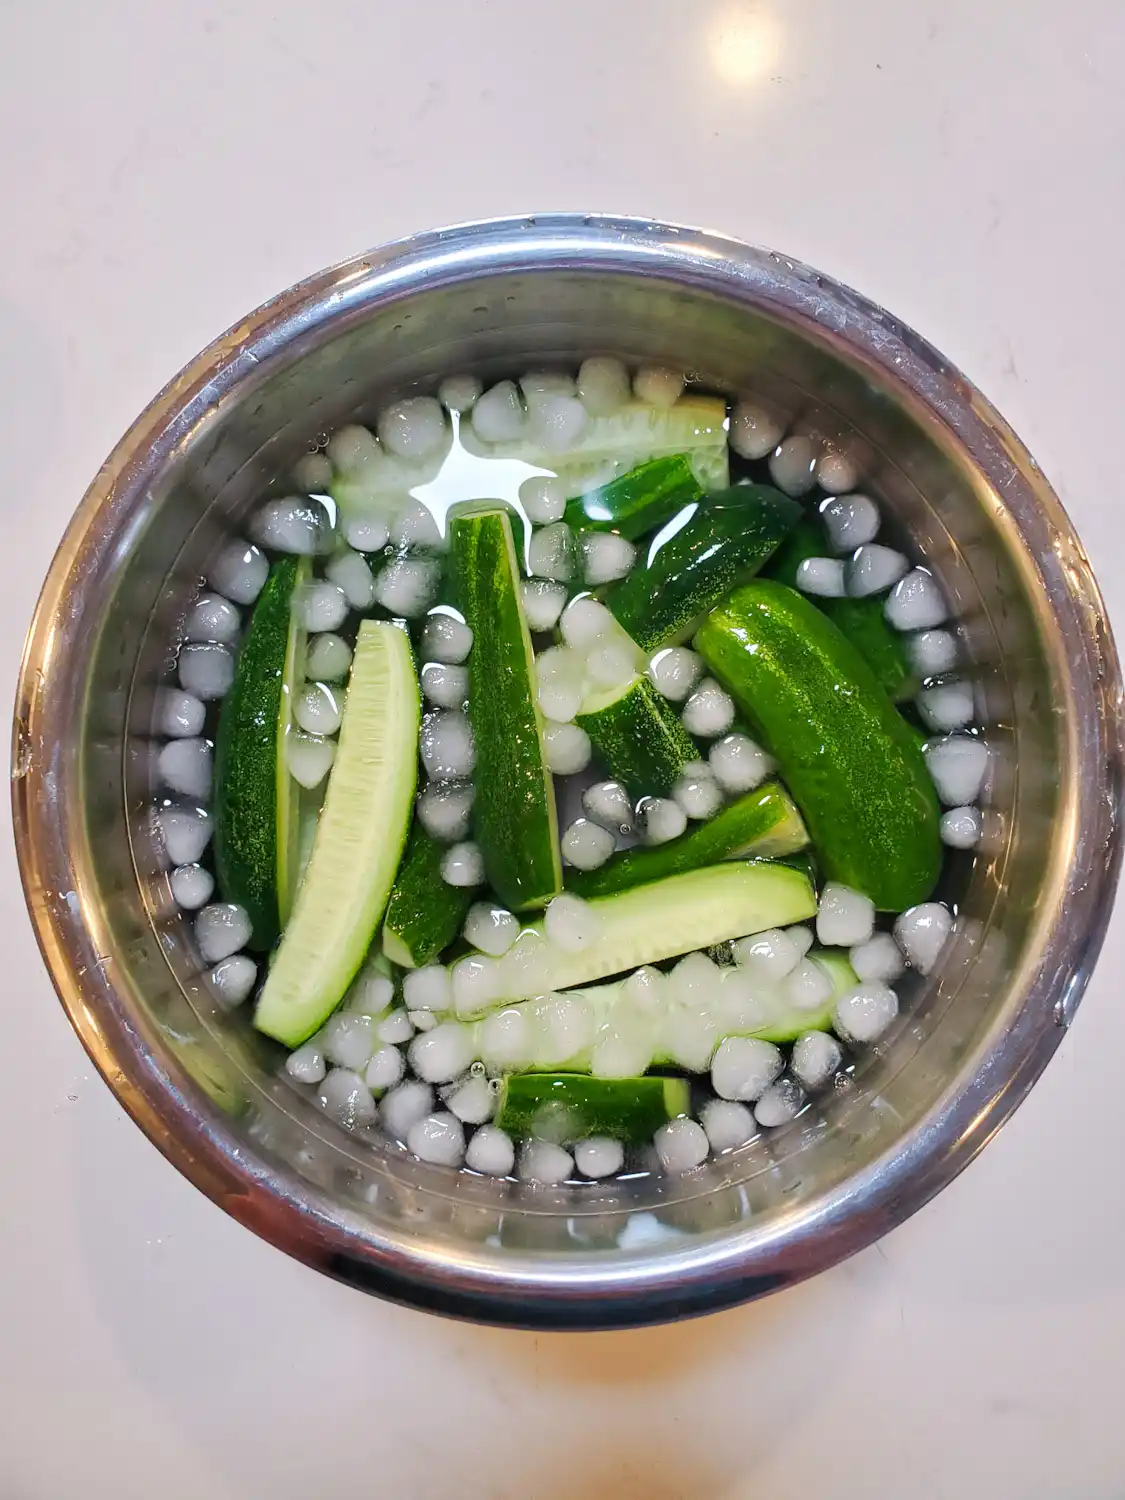
- After washing and trimming, soak the prepared cucumbers in a bowl of ice water for several hours (or even overnight) before making fermented pickles.
- Add 1 to 2 fresh grape leaves, oak leaves, bay leaves, blackberry leaves, horseradish leaves, or other high-tannin edible leaves to the bottom of each jar. OR, use 1 teabag (1 tsp) of plain black tea. The natural tannins help to keep fermented pickles extra crunchy!
Fermentation Safety Notes
Unlike canning, there’s no need to sterilize fermentation equipment or supplies before starting. Yet it is important to practice good hygiene and to avoid introducing unwanted bacteria or mold into your fermenting environment (which is pretty darn rare, honestly).
To be on the safe side, I recommend to wash all your supplies with very hot soapy water. Make sure to rinse everything well to remove all soap residue after. You could also add a little vinegar to the washing mix. Also be sure to wash your hands well, and thoroughly rinse the veggies and herbs with water before starting.
Fermented Pickles Recipe
Supplies Needed
- Glass jar or other fermentation vessel (plastic not recommended)
- An airlock fermentation lid that fits your jar or vessel like this one, or this other option
- Fermenting weight, such as these glass weights
Note: A separate weight isn’t needed if your fermentation lid comes with a weight or springs, like our Kraut Source lid or this Ball all-in-one ferment lid with spring.
Ingredients
Fermented pickle brine recipe: 2 cups of chlorine-free water and 1 Tbsp sea salt, kosher salt or pickling salt (not iodized table salt). This will make enough salt water brine for about 1 quart jar.
Seasonings per quart jar (scale up or down as needed):
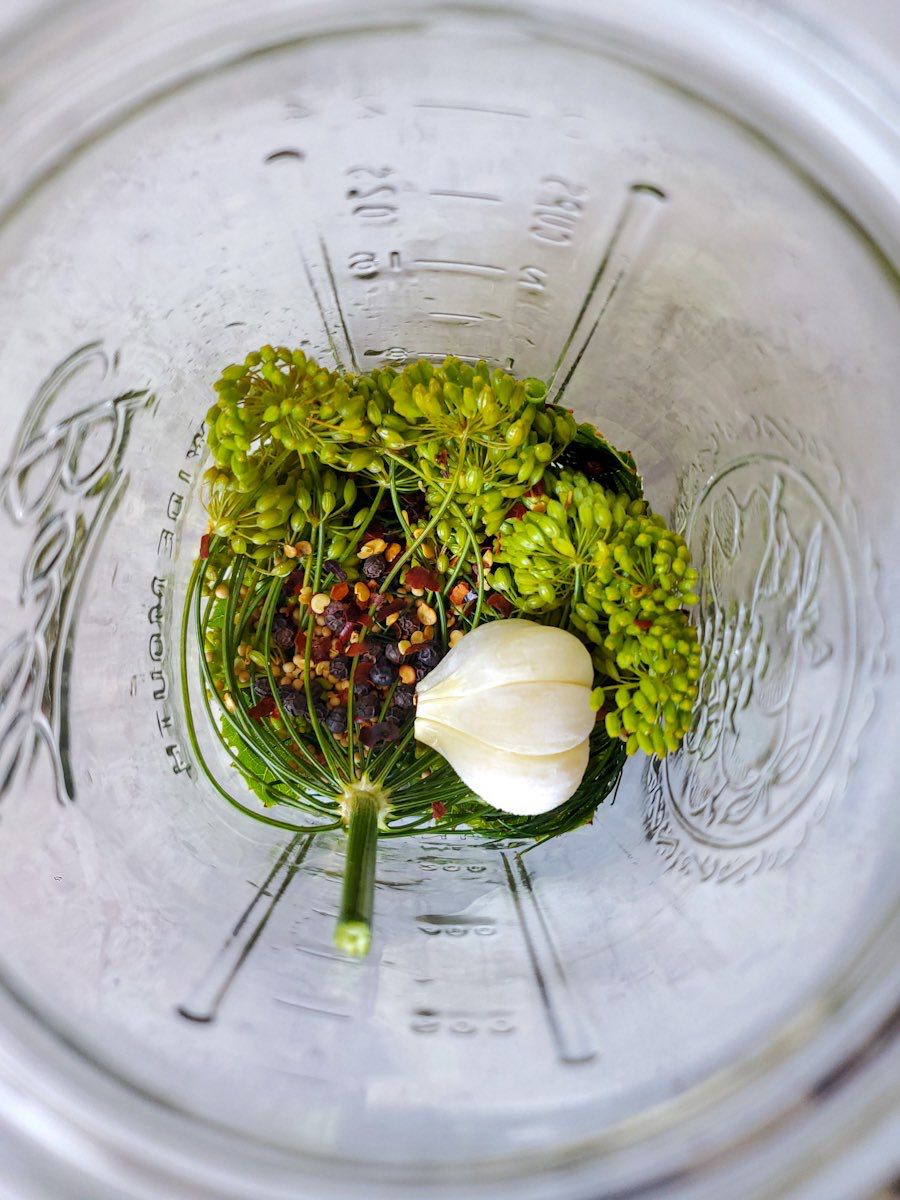
- 4 to 6 sprigs of fresh dill, 1 to 2 dill heads, or 1 Tbsp of dried dill
- 2 cloves of garlic, peeled and lightly crushed
- 1 tsp mustard seeds
- 1/2 tsp black peppercorns
- Up to 1/2 tsp red chili pepper flakes and/or one fresh hot chili pepper (sliding scale depending how spicy you want them)
- Instead of mustard seed, peppercorns and chili flakes, you could use 1 Tbsp of pre-mixed “pickling spices”
- Optional: 1 or 2 grape leaves, oak leaves, bay leaves, horseradish leaves or 1 tsp (bag) of black tea
Instructions
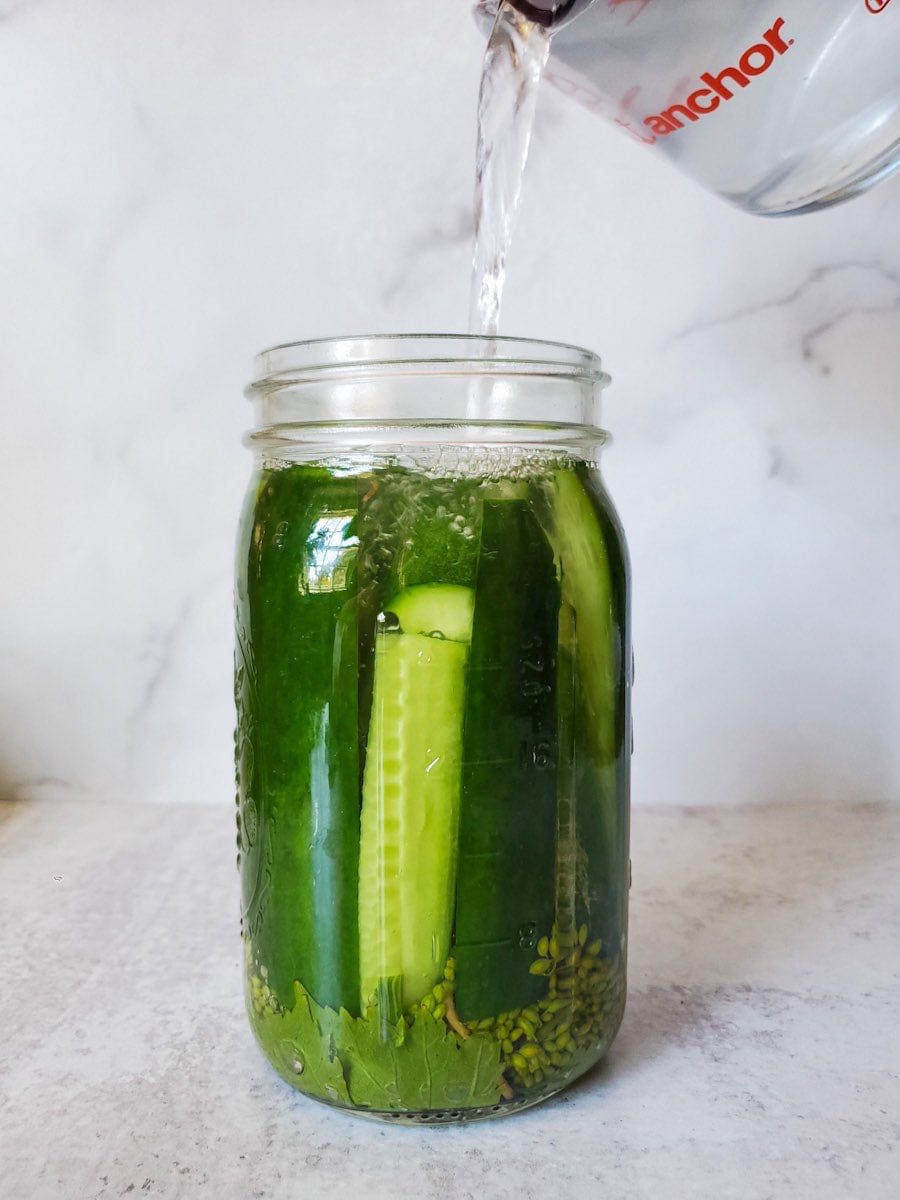
- First, create the salt water brine by dissolving 1 Tbsp of salt in 2 cups of water and set aside. Either use warm water or lightly heat the brine on the stovetop until the salt dissolves. Yet there is no need to boil it – it’s best if the brine has cooled to lukewarm or room temperature before adding to the cucumbers.
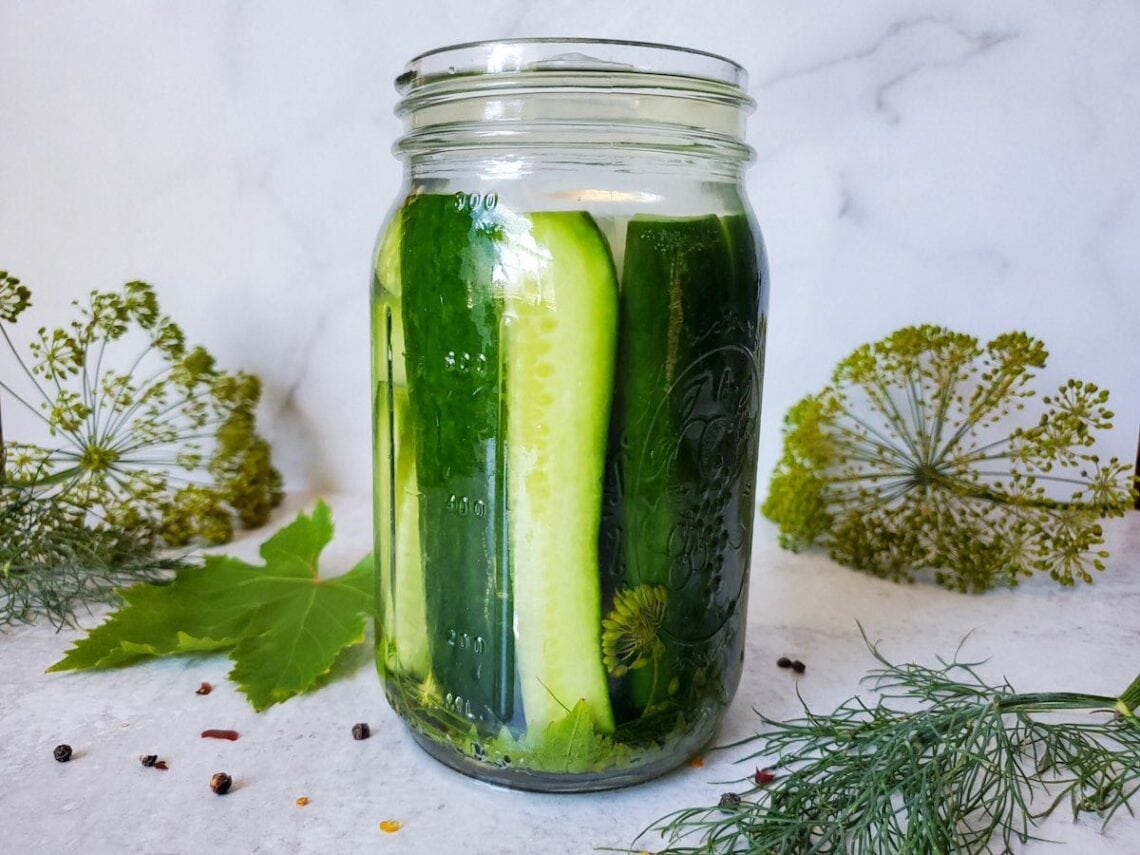
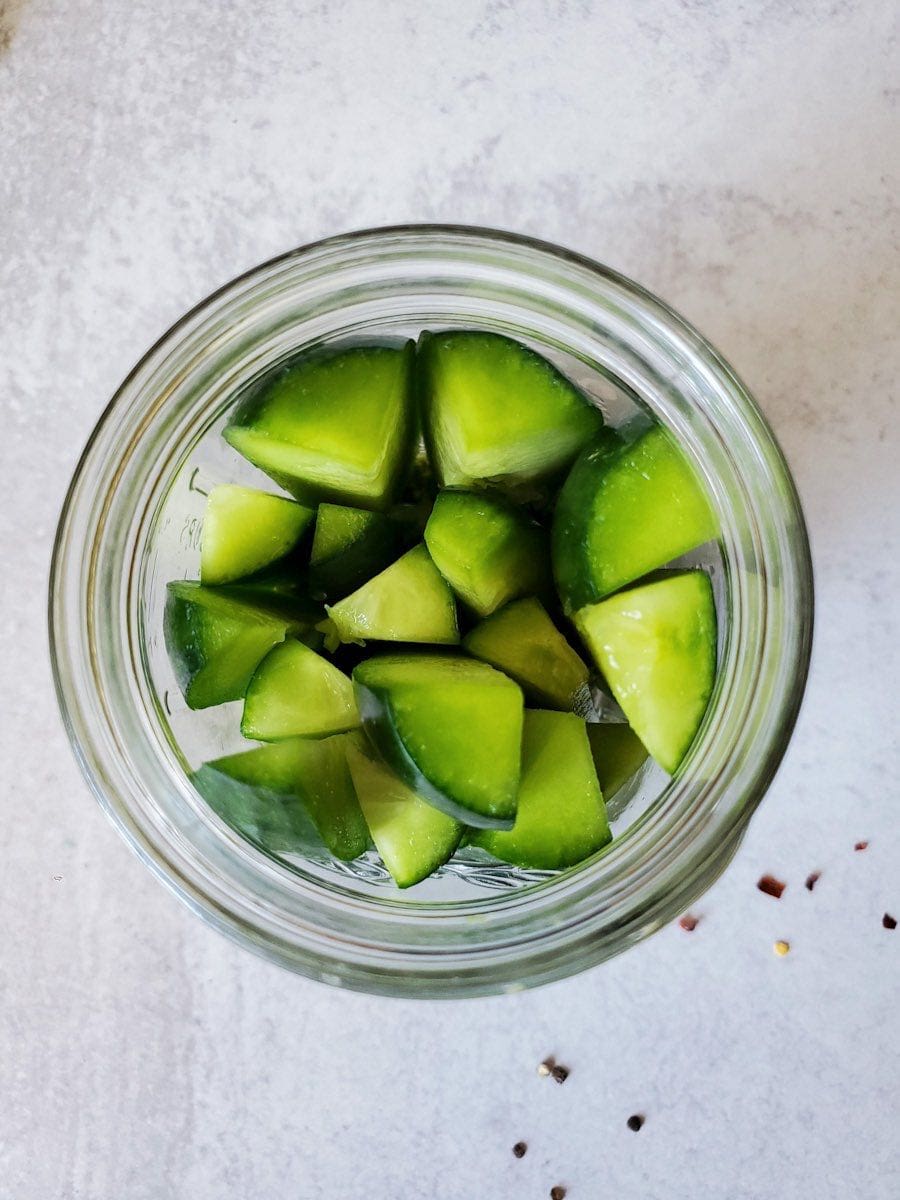
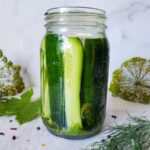
- Prepare the cucumbers: wash, trim off the ends, and cut into your desired shape (e.g. halves, spears, or slices). You can leave small pickling cucumbers whole, but DO trim off the ends still. The cucumbers should be at least 1 to 2 inches shorter than the jar, allowing enough headroom for your chosen fermentation weight.
- Optional: for maximum crunch, soak the cut cucumber slices in an ice bath for 30 minutes to a few hours before proceeding.
- In the bottom of a clean jar, add the other seasonings: the dill, garlic, pickling spices, optional chili pepper and grape leaves or other high-tannin leaves.
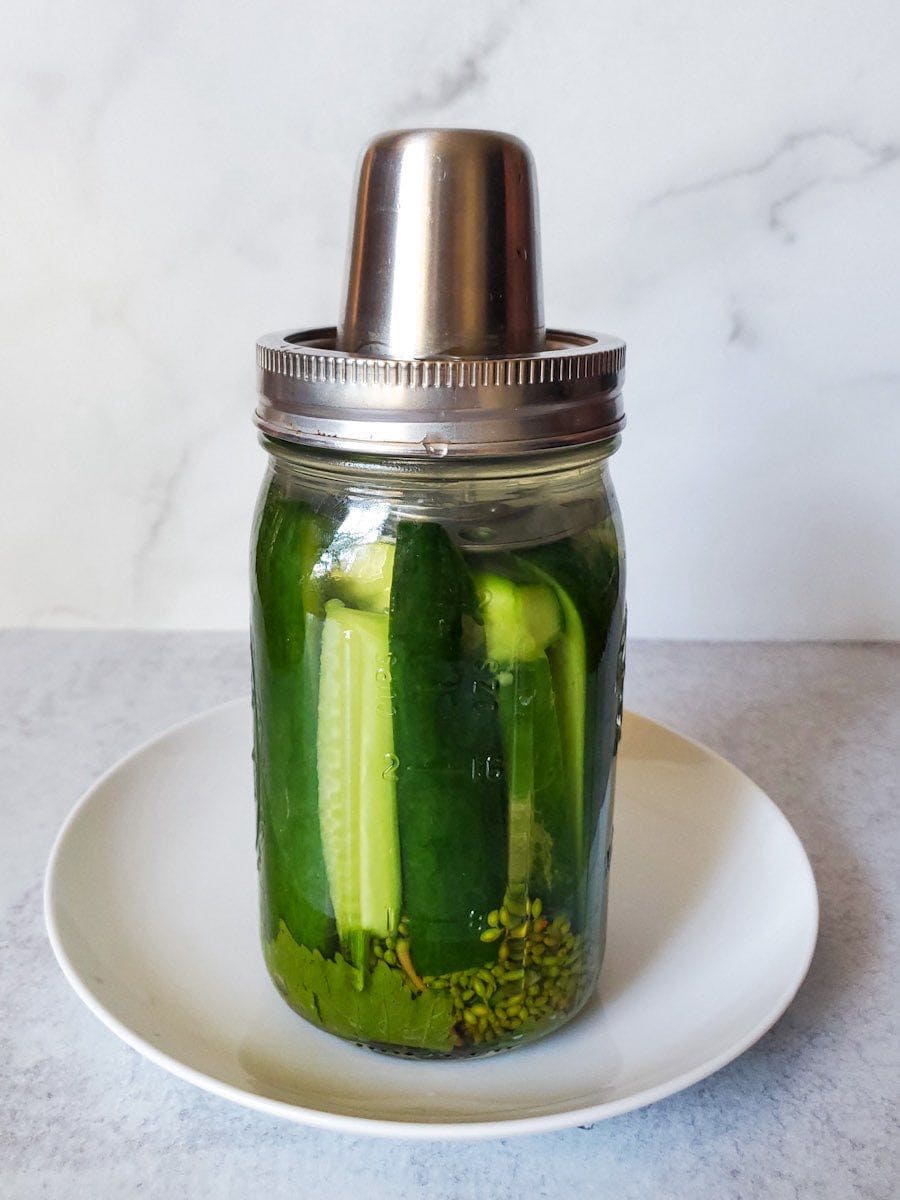
- Neatly pack the jar full of cucumbers, fitting as many as possible in.
- Pour the saltwater brine into the jar until the cucumbers are completely submerged and covered with at least 1 inch of brine.
- You may have leftover brine, which is fine. If you happen to not have enough, mix a mini batch of brine by dissolving 1 tsp of salt in ½ cup of water and then top off the jar of cucumbers.
Instructions continued…
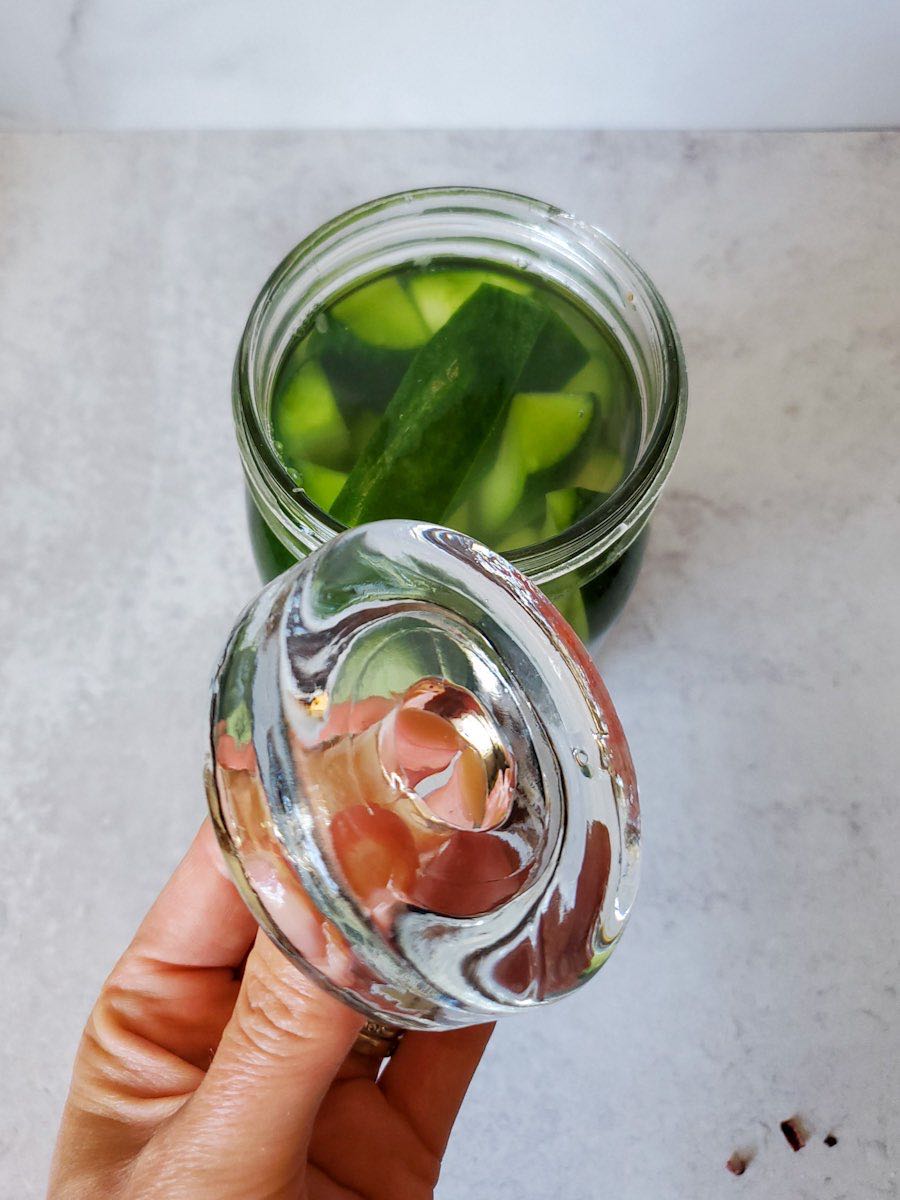
- Next, add a fermentation weight to keep the cucumbers submerged below the brine. This part is essential, as any “floaters” will be more prone to mold! If your fermentation lid includes a weight or spring, you don’t need an additional weight. Finally, add the airlock fermentation lid to the jar.
- Set the jar of cucumbers in a cool place (60-70F is ideal) for 3 to 5 days, up to two weeks or longer. Fermenting pickles in cool temperatures yields the best flavor and texture! Plan to taste-test one after 3 or 4 days, and see notes below for more information on how to tell when fermented pickles are ready.
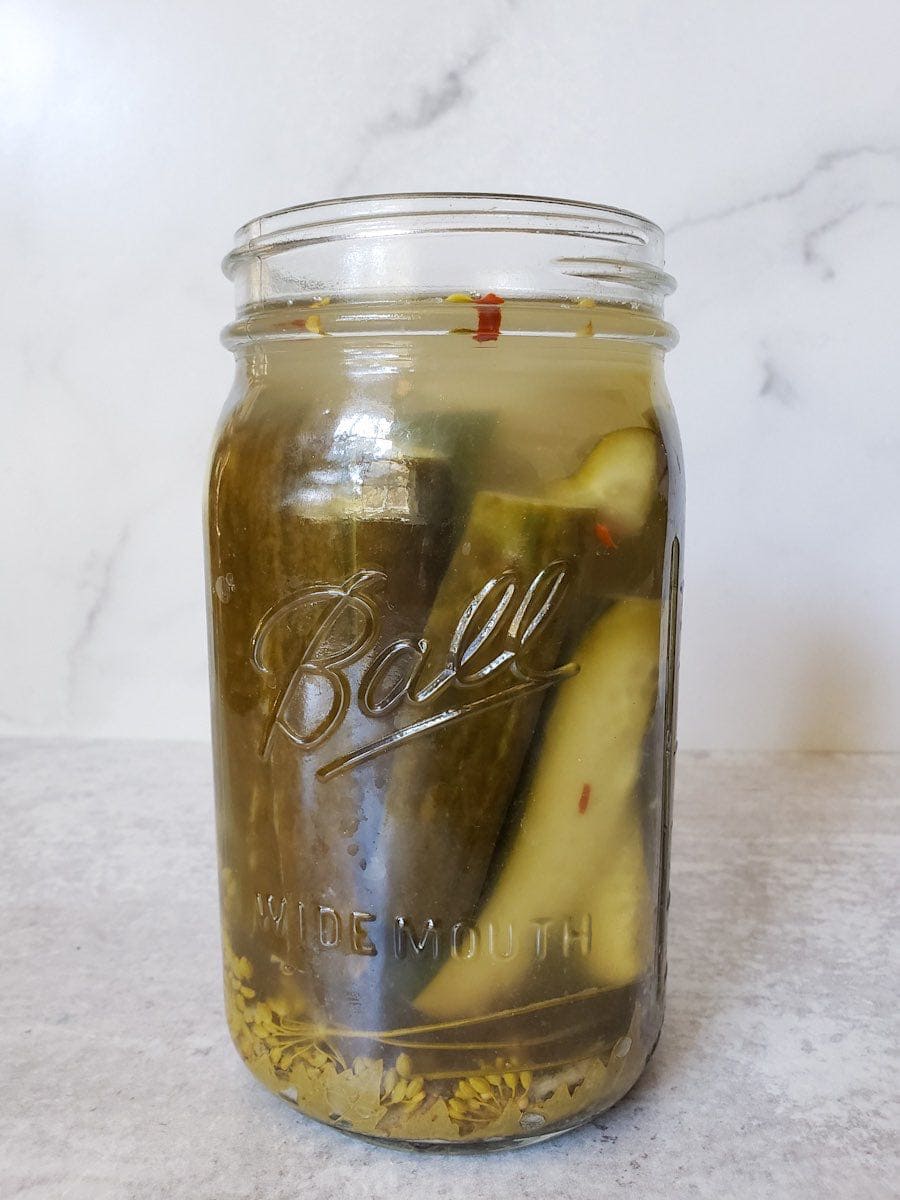
- During the fermentation time, you should start to notice bubbles in the jar within the first 48 hours. Also, the brine in your fermented pickles will turn cloudy after a few days – this is normal and good! Depending on your fermentation lid, it may overflow and leak from the jar, so we often set ours on top of a plate to catch any runoff.
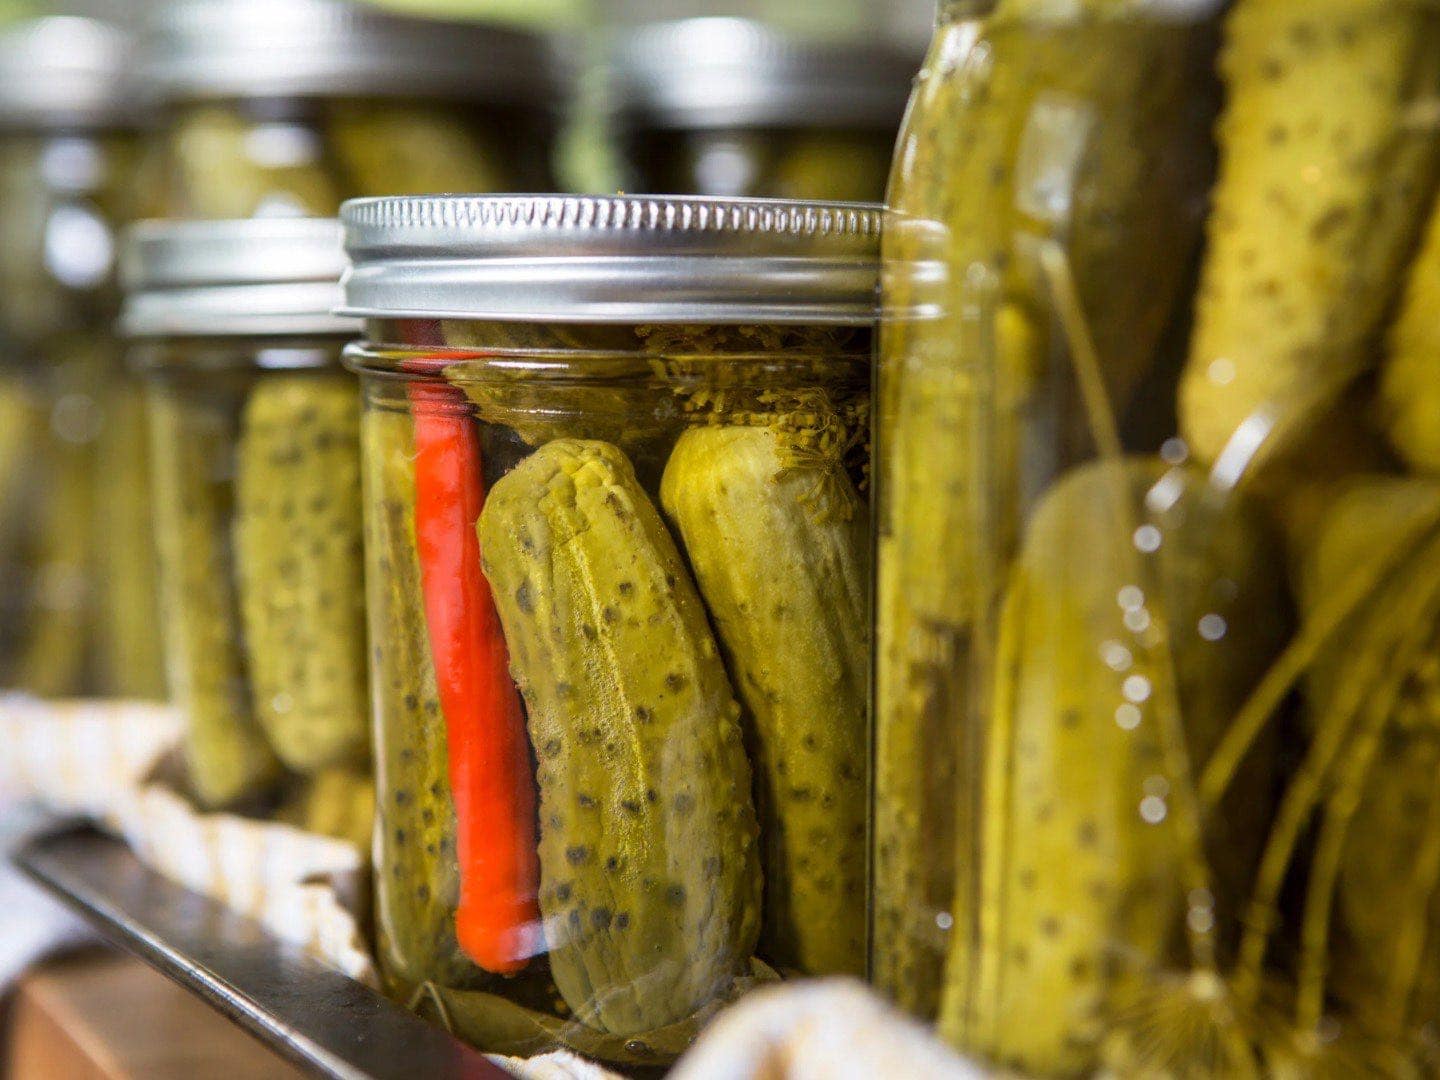
- Once they’re fermented to your liking, remove the airlock lid and weight and replace with a standard jar lid. Store your finished lacto-fermented pickles in the refrigerator.
When are fermented pickles done and ready?
Some brined pickles recipes say to ferment for as little as 3 or 4 days, while others say up to a month! The shorter the ferment time (considered “lightly brined”), the more crunch and color the fermented cucumber pickles will retain. Yet a longer fermentation time produces more gut-healthy bacteria and tangier flavors. So, it’s up to you. Taste test your fermented pickles after 3 or 4 days and decide if you’d like to let them continue to ferment longer or not.
*Note: Fermenting cucumber pickles in warm conditions (over 73F) for an extended period of time may lead to the growth of kahm yeast, which appears as a white film that settles on top of the cucumbers in the jar. Kahm yeast isn’t bad or dangerous. However, it can be extra aromatic and flavorful – and not in a good way. So I generally opt for shorter fermentation times when it’s hot out.
How long do fermented pickles stay good in the fridge?
Naturally fermented pickles can stay good in the refrigerator for up to a year. However, the quality, texture, and flavor will be best if consumed within 3 to 6 months. While the cool fridge temperature slows it down, lacto-fermented pickles will continue to ferment (and degrade) in the refrigerator over time. Again, it’s normal for the brine to be cloudy and the flavor and aroma should be sour. Discard if mold or rotten odors develop.
Can fermented pickles be canned?
Technically, yes – naturally fermented pickles can be canned. But unfortunately, the process of heating them in a hot bath or pressure canner kills all the probiotics and beneficial bacteria. That defeats the purpose if you ask me! Canning fermented pickles without vinegar also needs to be done very carefully, ensuring that the salt water brine has reached a low enough pH to safety preserve them. Therefore, I’m not providing instructions on canning fermented pickles in this post.
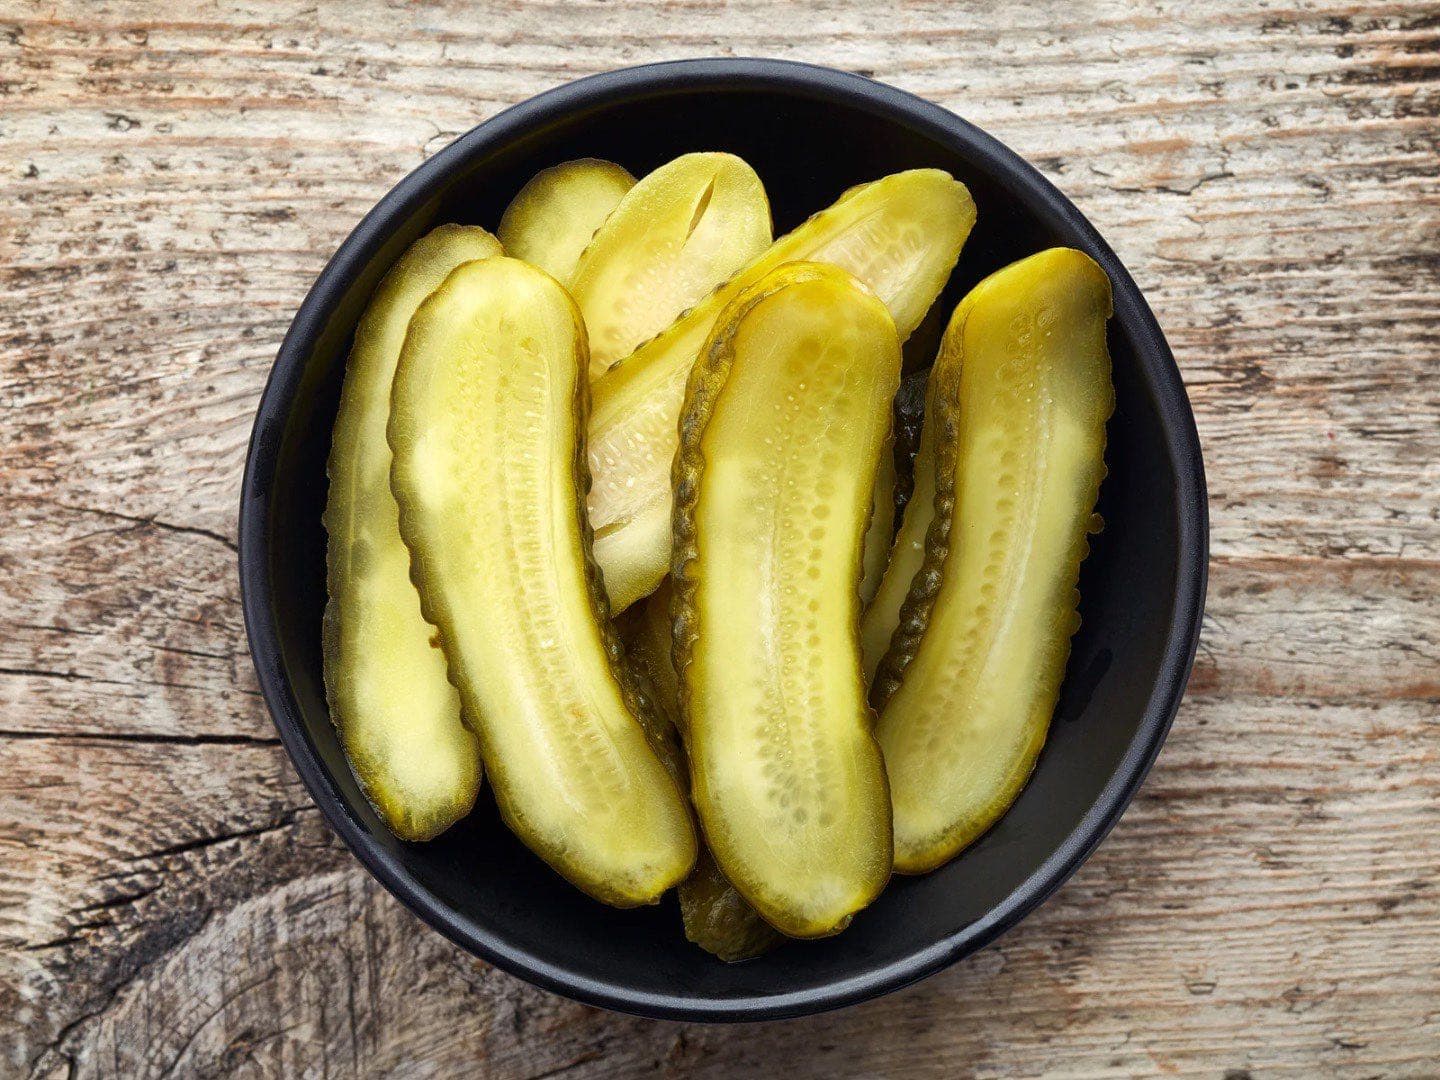
And that’s how to make fermented dill pickles.
All in all, naturally fermented pickles are an easy and rewarding garden goodie to make. I hope this tutorial makes you feel excited and prepared to make your own too! Please let us know if you have any questions in the comments below. Also be sure to stop back by to leave a review once you give them a try. Thank you so much for tuning in today. Happy fermenting!
You may also enjoy:
- Sweet & Spicy Pepper Fermented Hot Sauce Recipe
- Quick Pickled Dilly Green Beans (Refrigerator or Canning)
- Simple Fermented “Pickled” Beets Recipe with Garlic & Dill
- How to Make Kombucha 101: Brewing Basics for the Best Booch Ever
- 13 Ways to Preserve Tomatoes: Recipes to Freeze, Can, and More
Fermented Pickles Recipe: Easy Crunchy Brined Cucumber Dill Pickles
Equipment
- Fermenting vessel, such as a mason jar (pint, quart, or half-gallon)
- An all-in-one fermentation lid, or other fermentation weights and an air lock device
Ingredients
- fresh cucumbers, small cucumbers or pickling cucumbers preferred
Fermented pickles salt water brine
- 2 cups filtered water, non-chlorinated water (per quart jar)
- 1 tbsp kosher or pickling sea salt (not iodized table salt) per 2 cups of water used
In-Jar Seasonings (per quart)
- 4-6 sprigs of fresh dill, 1-2 dill heads, or 1 Tbsp dried dill
- 2 cloves fresh garlic, peeled and lightly crushed
- 1 tsp mustard seeds
- 1/2 tsp black peppercorns
- 1/2 tsp red chili flakes OR a fresh hot chili pepper (optional, adjust per flavor preference)
- 1 Tbsp pre-mixed pickling spices – use instead of mustard seeds, peppercorns and chili flakes
- Optional: 1 or 2 grape leaves, oak leaves, bay leaves, horseradish leaves or 1 tsp (bag) of black tea for tannins and extra crunch
Instructions
- Create the salt water brine: dissolve 1 Tbsp of salt in 2 cups of water and set aside. Either use warm water or lightly heat the brine on the stovetop until the salt dissolves (no need to boil)
- Wash the cucumbers, trim off the ends, and cut as desired (halves, spears, slices, etc). The cucumbers should be at least 1 to 2 inches shorter than the jar, allowing enough headroom for your chosen fermentation weight.
- Optional: for maximum crunch, soak the cut cucumber slices in an ice bath for 30 minutes to a few hours before proceeding.
- In the bottom of a clean jar or ferment vessel, add all other in-jar seasonings.
- Next, pack the cucumbers into the container until completely full. Stuff as many as you can close together, minimizing empty air space as you go.
- Pour the cooled brine (room temp to lukewarm is ideal) into the ferment vessel or jar until the cucumbers are fully submerged and covered by at least 1 inch.
- Next, add a fermentation weight to keep the cucumbers submerged below the brine. If your fermentation lid includes a weight or spring, you don’t need an additional weight. Finally, add the airlock fermentation lid to the jar.
- Set the jar of cucumbers in a cool place (60-70F is ideal) for 3 to 5 days, up to two weeks or longer. Taste-test after 3 or 4 days to gauge if they're fermented to your liking, or continue to ferment longer. Keep the container on a plate to catch overflowing brine.
- When the time is up, remove air lock lid and weights, cover the container with a standard lid, and store the finished fermented pickles in the refrigerator.
- Enjoy the fermented dill pickles for several months, or possibly up to a year. As long as they aren't moldy or obviously putrid, they're still good!
Notes


You May Also Like
What We’re Growing: Spring & Summer Garden 2020
9 Common Seed Starting Mistakes To Avoid
